Learn how to make roti with our step-by-step guide.
Ingredients:
- 2 cups whole wheat flour (atta)
- 3/4 to 1 cup warm water
- A pinch of salt
- Ghee or oil (for greasing and cooking)
Instructions:
- In a mixing bowl, add the whole wheat flour and a pinch of salt. Mix well.
- Gradually add warm water to the flour and start kneading. The amount of water needed may vary, so add it little by little until you get a smooth and soft dough. The dough should not be too sticky or too dry.
- Knead the dough for about 5-7 minutes until it becomes elastic and pliable.
- Once the dough is ready, cover it with a damp cloth or plastic wrap and let it rest for about 15-20 minutes. This resting period helps in making the rotis softer.
- After resting, divide the dough into small, equal-sized balls. You can make around 8-10 balls depending on the size of the rotis you want.
- Take one dough ball and flatten it slightly with your palms. Dust it with some dry flour to prevent sticking.
- Roll the dough ball into a round circle using a rolling pin. Try to roll it evenly, maintaining an even thickness.
- Heat a tawa (flat griddle) or a non-stick pan over medium-high heat. Once it’s hot, place the rolled dough (roti) on the tawa.
- Cook the roti for about 30 seconds to 1 minute on one side until you see small bubbles forming.
- Flip the roti to the other side using tongs or a spatula. Allow it to cook for another 30 seconds to 1 minute.
- Now, you can directly place the roti on an open flame (gas stove) to puff it up. Be careful while doing this and use tongs to hold the roti over the flame. It will puff up and get lightly charred in spots.
- Remove the roti from the flame and apply ghee or oil on both sides while it’s still hot.
- Repeat the process for the remaining dough balls to make more rotis.
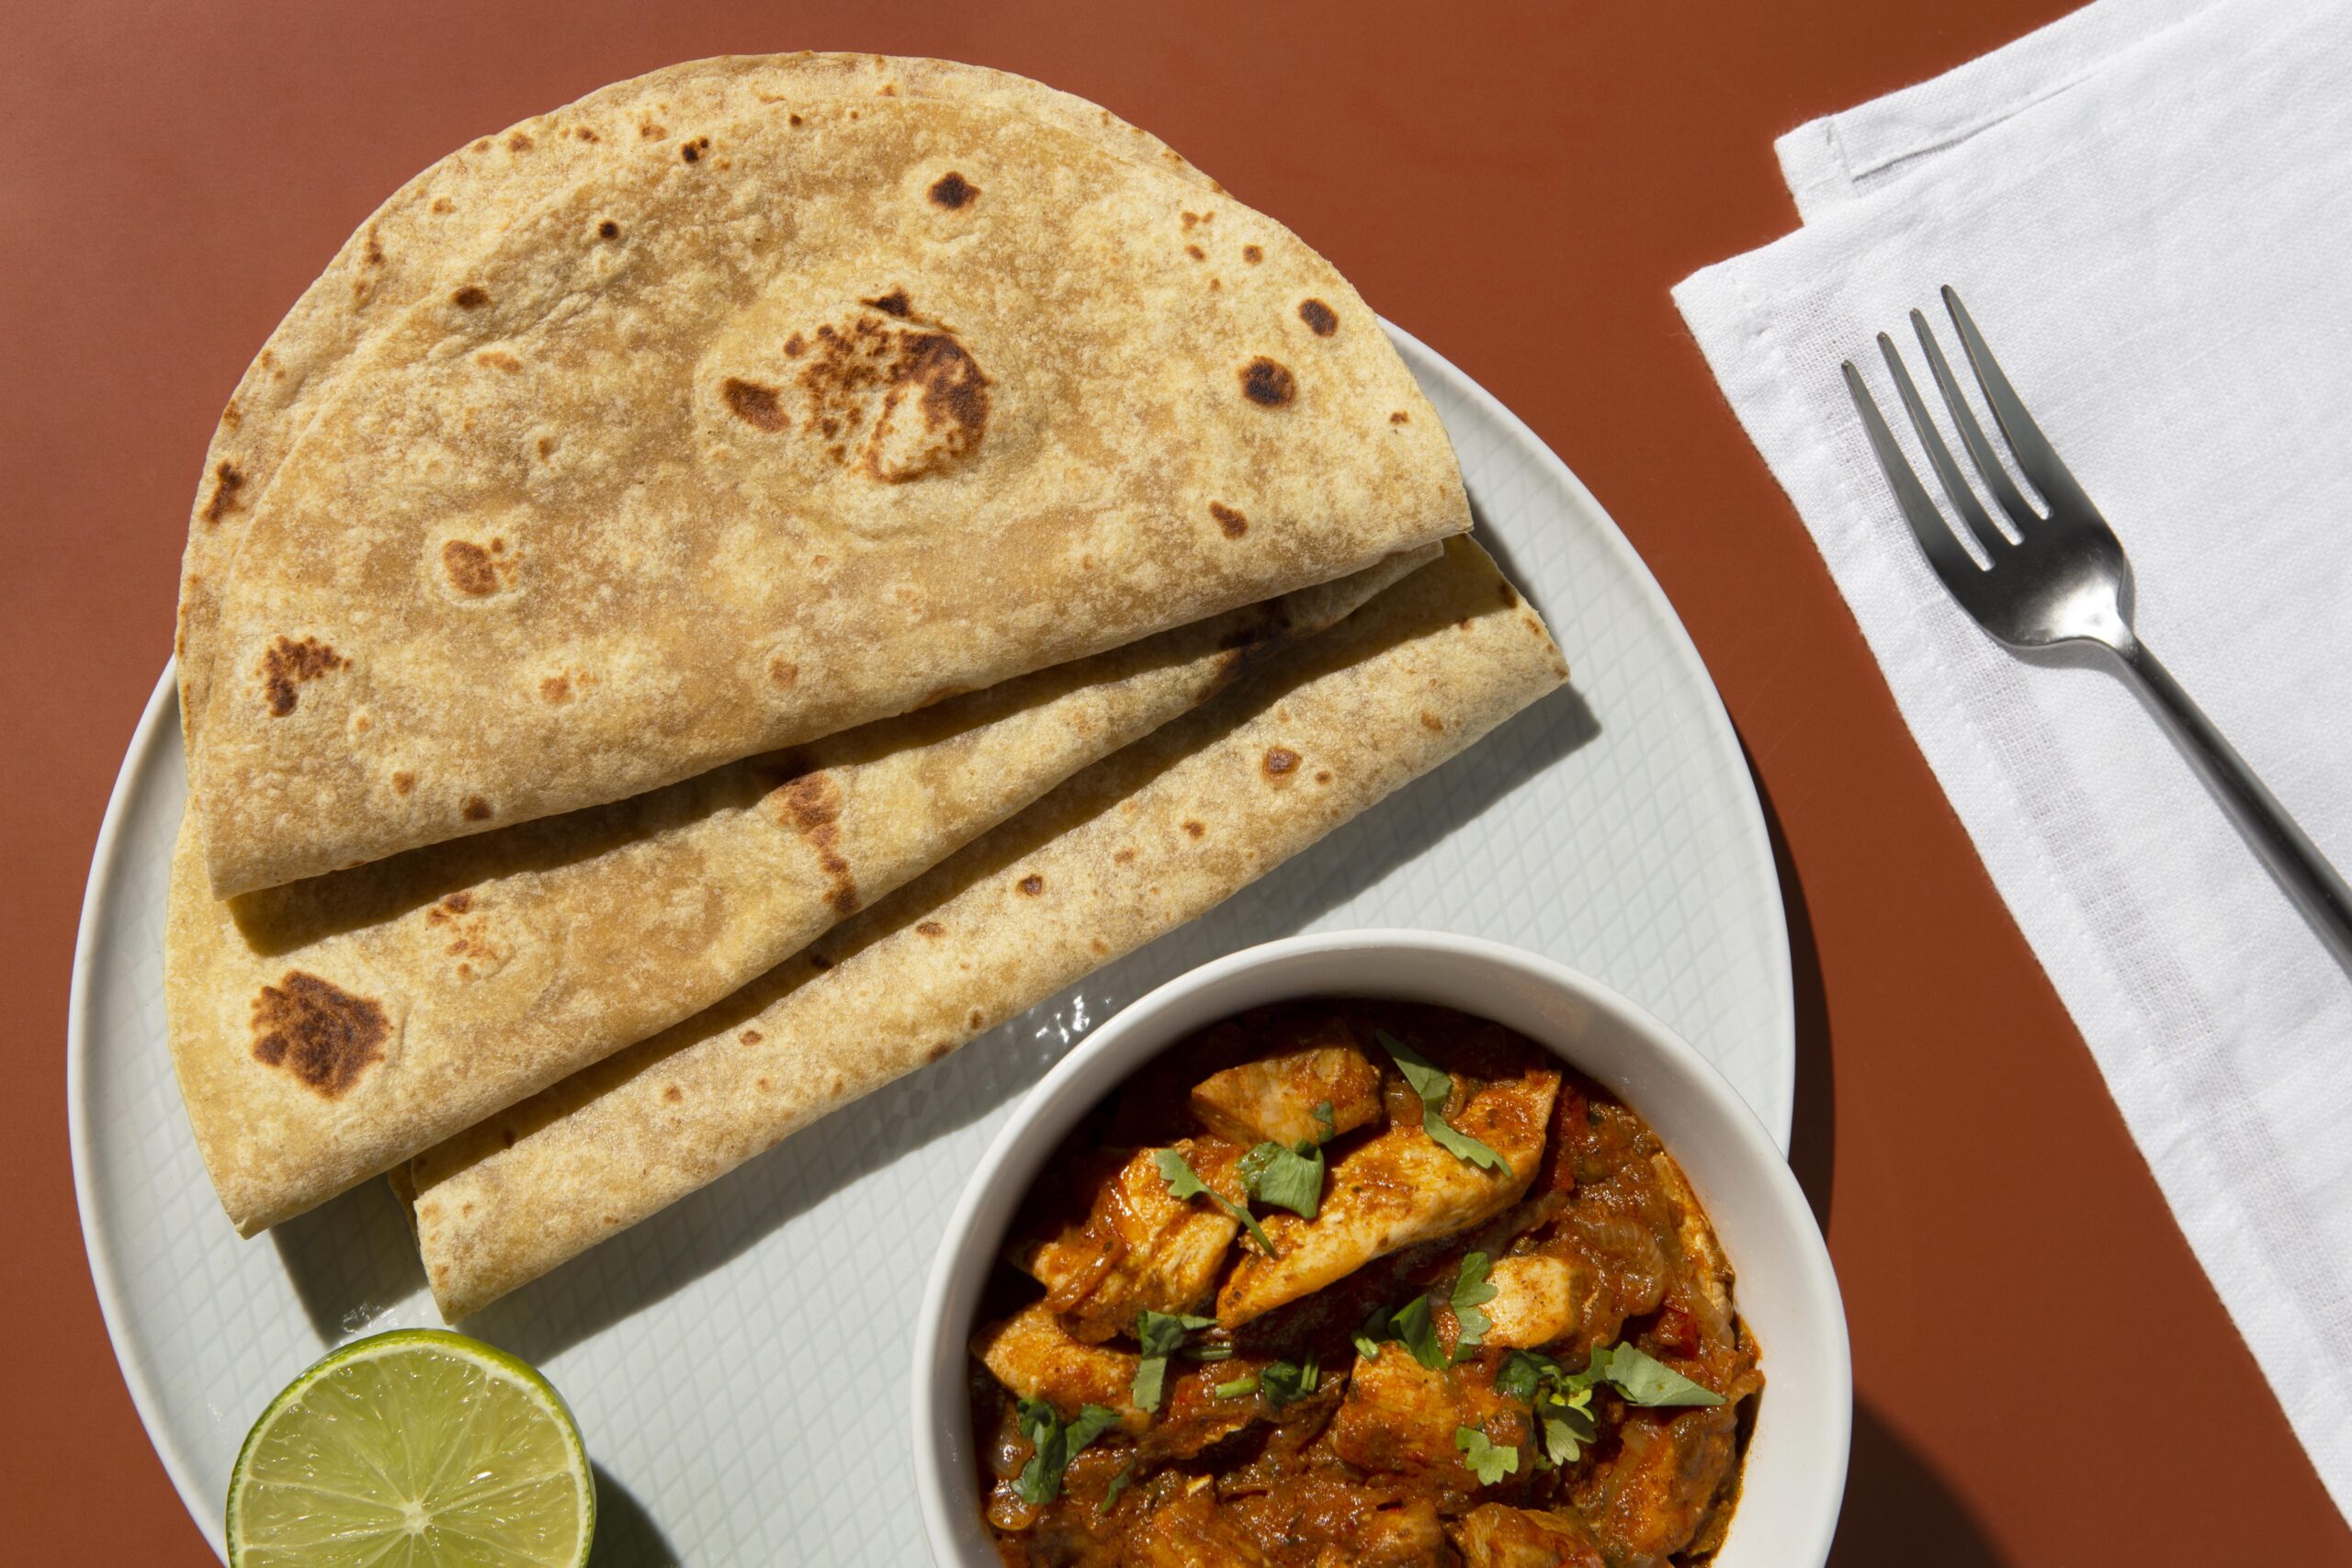
Your homemade rotis are now ready to be served! They go well with various curries, vegetables, or any dish of your choice. Enjoy your freshly made rotis!
Expert Tips for Success!
- Use Fresh Flour: Use fresh whole wheat flour (atta) for the best results. Fresher flour yields softer and more pliable dough.
- Proper Kneading: Knead the dough well to develop gluten, which gives elasticity to the dough. A well-kneaded dough results in softer and smoother rotis.
- Optimal Water Amount: Add water gradually while kneading. The amount of water required may vary depending on the flour’s quality, so add it slowly until you achieve the right consistency.
- Resting Period: Allowing the dough to rest for 15-20 minutes is crucial. It relaxes the gluten and makes it easier to roll out the rotis.
- Rolling Technique: When rolling the dough, apply even pressure to maintain a consistent thickness. Avoid using too much dry flour while rolling, as excess flour can make the rotis dry and tough.
- Correct Temperature: Heat the tawa or pan at the right temperature. A medium-high heat ensures even cooking without burning the rotis.
- Perfect Timing: Keep an eye on the rotis while cooking and flip them when small bubbles start forming. Overcooking can make them hard and less fluffy.
- Puffing the Rotis: For puffing, place the roti directly on an open flame for a few seconds until it puffs up. Be careful not to burn the roti or yourself during this process.
- Apply Ghee or Oil: Apply ghee or oil immediately after removing the roti from the flame. This helps in keeping the rotis soft and adds flavor.
- Keep Warm and Covered: Keep the prepared rotis covered with a cloth or in a casserole to retain their softness and warmth.
- Practice: Making perfect rotis takes practice. Don’t be disheartened if your first attempts aren’t flawless. With time and practice, you’ll improve your technique.
- Experiment with Flavors: You can add various herbs, spices, or other grains like millet flour or besan (gram flour) to the dough for unique and flavorful rotis.
- Clean Cooking Surface: Ensure that the tawa or pan is clean and free from any residue. This helps in even cooking and prevents sticking.
Remember that making rotis can be an art, and everyone’s technique may vary slightly. Enjoy the process, and don’t be afraid to experiment and find what works best for you. Happy roti-making!